Last Updated: May 6, 2026
Measuring with a ruler may seem simple, but doing it correctly is a foundational skill that impacts accuracy in schoolwork, DIY projects, engineering, tailoring, and even daily tasks. A small mistake—like misaligning the zero mark or reading from an angle can completely distort your measurement.
In this comprehensive guide, you’ll learn how to measure with a ruler correctly, avoid common mistakes, understand ruler markings, and master both metric and imperial systems.
Table of Contents
Why Accurate Measurement Matters
Before diving into the process, it’s important to understand why precision matters:
- Prevents errors in construction and design
- Ensures proper fitting (clothes, furniture, etc.)
- Improves academic performance in math and science
- Saves time and reduces rework
Even a slight error of 1–2 mm can affect the outcome of a project significantly.
Understanding a Ruler Before Measuring
A ruler is not just a straight strip it’s a calibrated measuring instrument. Knowing how it’s structured is critical.
Types of Measurement Systems
| System | Units Used | Common Regions | Key Feature |
| Metric | mm, cm | Worldwide | Base-10 system |
| Imperial | inches, fractions | USA mainly | Fraction-based |
Most rulers include both systems:
- One side: centimeters (cm) and millimeters (mm)
- Other side: inches with fractional divisions
Metric Ruler Breakdown
| Mark Type | Value |
| Long line | 1 cm |
| Medium line | 0.5 cm |
| Small line | 1 mm |
- 10 mm = 1 cm
Inch Ruler Breakdown
| Mark Type | Value |
| Longest line | 1 inch |
| Medium line | 1/2 inch |
| Smaller lines | 1/4, 1/8 |
| Smallest lines | 1/16 inch |
Each inch is typically divided into 16 parts.
Step-by-Step: How to Measure with a Ruler Correctly
1: Place the Ruler Properly
- Lay the ruler flat on a stable surface
- Align it along the object’s edge
- Ensure it is straight (not tilted or angled)
Pro Tip: Always use a clean, flat surface for better accuracy.
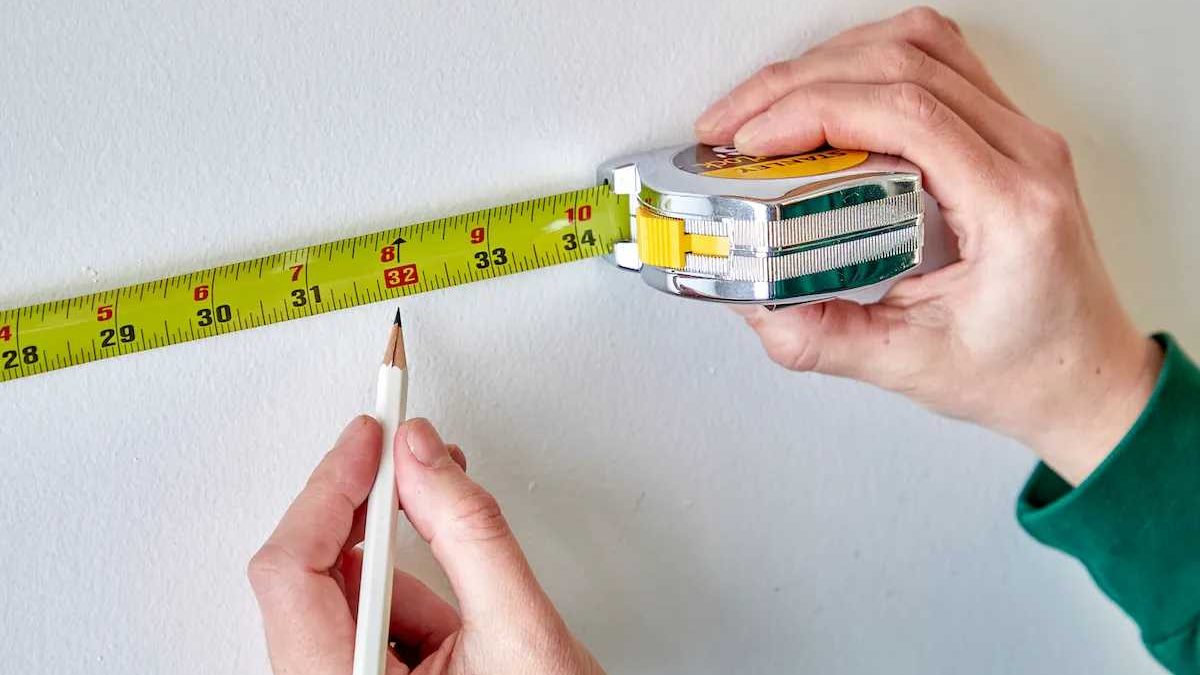
2: Align the Zero Mark
This is the most critical step.
- Place the “0” mark exactly at the starting edge
- Do NOT use the physical edge of the ruler
- Some rulers have a gap before zero
Failing this step leads to incorrect measurements.
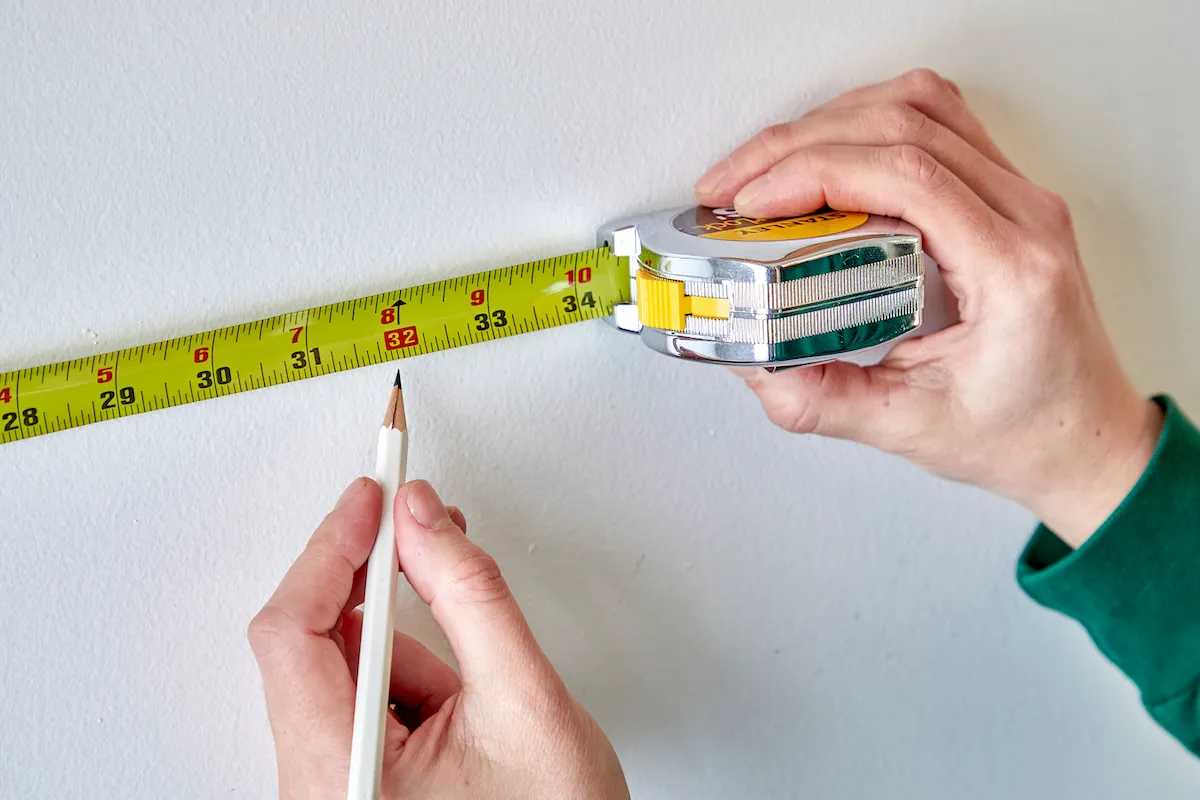
3: Keep the Ruler Stable
Movement causes inaccuracies.
Methods to stabilize:
- Hold it firmly with your fingers
- Use tape for long measurements
- Place a small weight if needed
4: Look Straight Down
Avoid parallax error:
- Your eyes must be directly above the measurement
- Viewing from an angle changes the reading
This is a common beginner mistake.
5: Read the Measurement
Now observe where the object ends:
- If it aligns exactly with a mark → read directly
- If between marks → estimate the closest value
Examples:
- 5 cm exactly → 5.0 cm
- Between 5.2 and 5.3 → ~5.25 cm
6: Record with Units
Always include units:
- Correct: 12.5 cm
- Incorrect: 12.5
Units prevent confusion and errors.
Common Mistakes to Avoid
Starting from the Edge Instead of Zero
- Causes consistent measurement errors
Reading at an Angle
- Leads to parallax distortion
Mixing Units
- Using cm and inches interchangeably
Using Damaged Rulers
- Bent or worn rulers reduce accuracy
Ignoring Small Divisions
- Missing millimeters or fractions reduces precision
Metric vs Inch Measurement Comparison
| Feature | Metric System | Imperial System |
| Ease of use | Easier | Slightly complex |
| Divisions | Base 10 | Fractions |
| Precision | High | High |
| Learning curve | Low | Medium |
Real-Life Examples of Correct Measurement
1: Measuring a Book
- Align zero with the edge
- Book ends at 21.3 cm
- Final measurement: 21.3 cm
2: Measuring in Inches
- Object ends between 3¼ and 3½
- Estimate midpoint → 3⅜ inches
3: Measuring Irregular Objects
- Use the longest straight edge
- Align carefully
- Take multiple readings and average
Pro Tips for Perfect Accuracy
- Measure twice, record once
- Use good lighting
- Clean ruler markings for visibility
- Use magnification for small measurements
- Practice regularly
Ruler Sizes and Use Cases
| Ruler Size | Best For |
| 6 inches | Small objects |
| 12 inches | General use |
| 24 inches+ | Large measurements |
Longer rulers cover more area but are harder to handle.
Advanced Measurement Techniques
Measuring Without Starting at Zero
If the zero mark is damaged:
- Start from another mark (e.g., 1 cm)
- Measure endpoint
- Subtract starting value
Measuring Curved Objects
- Use string or flexible tape
- Measure the string with a ruler
Measuring Depth
- Place ruler vertically
- Read depth at the top edge
Price Comparison of Rulers (Market Insight)
| Type of Ruler | Material | Price Range (INR) |
| Plastic ruler | Plastic | ₹10 – ₹50 |
| Steel ruler | Stainless steel | ₹80 – ₹300 |
| Wooden ruler | Wood | ₹30 – ₹100 |
| Digital ruler | Electronic | ₹500 – ₹2000 |
Insight:
- Plastic rulers are affordable but less durable
- Steel rulers offer better precision and longevity
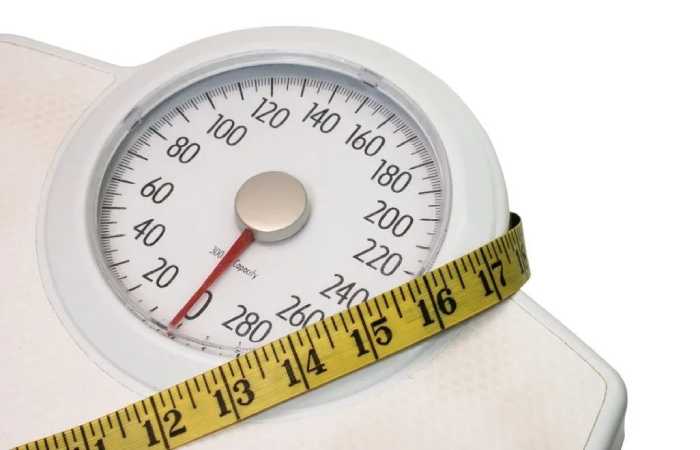
When to Use a Ruler vs Tape Measure
| Tool | Best Use Case |
| Ruler | Small, precise measurements |
| Tape measure | Large distances |
Practice Exercises for Beginners
Try these to improve your accuracy:
- Measure a pencil
- Measure a notebook
- Measure your phone
- Compare results in cm and inches
Expert Tips Used by Professionals
- Engineers use steel rulers for precision
- Tailors prefer flexible tapes
- Designers double-check measurements
Frequently Asked Questions
How accurate is a ruler?
Most rulers measure up to:
- 1 mm (metric)
- 1/16 inch (imperial)
Can I estimate between marks?
Yes. Estimation improves precision beyond the smallest division.
Why is my measurement always wrong?
Common reasons:
- Not starting at zero
- Viewing at an angle
- Misreading fractions
Final Thoughts
Learning how to measure with a ruler correctly is a simple but essential skill that improves accuracy across multiple domains. The key lies in mastering the basics:
- Align the zero mark
- Keep the ruler stable
- Read carefully
- Avoid common mistakes
With consistent practice, accurate measurement becomes second nature.